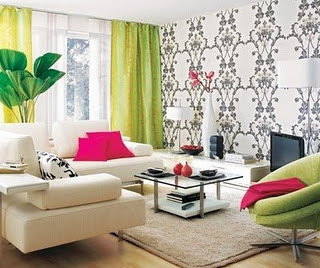
As some of you know my decorating style is PRIM!!! However, on the other hand, my hubby likes a little bit more of a modern/contemporary style... so we have had to find lots of ways to compromise! LOL, show me a marriage of 24 years that doesn't have to find some compromise, right??
We have sort of "claimed" decorating style on certain rooms. The laundry room, craft room, my bathroom and the kitchen are all MINE!! The rest of the house, right now, is HIS. I am, however, working on adding more rooms to MY list! :-)
Our bedroom is where we have had to find ALOT of compromise! So, here is a nifty thrifty wall stencil idea that we came up with. We choose green for the paint on the walls, it's my favorite color, and he finds it soothing. So, we picked two : Kennebunkport Green is the darker shade for the bottom and Kittery Point Green is the lighter shade for the top. We carefully measured a perfect line of definition for the paint. And then spent our Saturday painting.
Done, right??? NOPE! It was so boring to me!! I thought about adding a stencil border or something, but we didn't want it to get too busy. So, I came up with an idea of "stenciling" the bottom with clear spray gloss sealer. Off we went to pick out a wall stencil to Hobby Lobby... hmmm yep, not going to spend $72.99 for the stencil I LOVED when my hubby is as talented as he is!
So, instead we picked up a big piece of poster board and he free handed the stencil to match the filigree pattern in our valance. I cut out the design using an exacto knife. And, voila for only $1.29 we had our stencil!
Using the clear spray gloss sealer was awesome, because it just gave a sheen to the design and didn't add color or busyness!
So, a few weeks later I was working up in my daughter's room! She decided she wanted her room painted bright green, purple and black! And, so I mentioned adding a little zing with a stencil... and we looked up some design ideas online.
We loved this look!
She loved the filigree in this design.
We thought this one was cute too...but, we were already sold on the filigree!
She loved the idea!
But, her dear daddy was away on a business trip...and she and I are not the most patient people! Like mother like daughter! :-)
So, we picked out our design and I headed off to hobby lobby to see what they had in the market of plain stencil plastic to cut our stencil out of. Well, the stencil plastic was SUPER expensive, and actually not big enough to make a large enough stencil... plus I wanted to do this as thrifty as possible, just in case we weren't happy with the end result.
So, we stopped off at Office Max, which is right next door to HL. I found these clear plastic folders. I picked them up for .79 each! Brought them home, opened them up, cut off the part that folds back to make it a folder, and taped the two long sides of the folder together with heavy duty clear packing tape. I printed off the design we liked, and then ran down to the grocery store/photo department and had them blow up the picture. Then, when I got home I grabbed my sharpie and carefully traced the design onto the two folders taped together and then cut the design out with my exacto knife! And voila, a stencil is born for less than $2.00!
Here is what we came up with!
The green is bright! But, she loves it and it suits her outgoing personality!
We made another stencil for above and below her skylight.
Here are some stencil patterns... I hope this inspires you to get stenciling!


No comments:
Post a Comment